DIY Liquid Density Tower
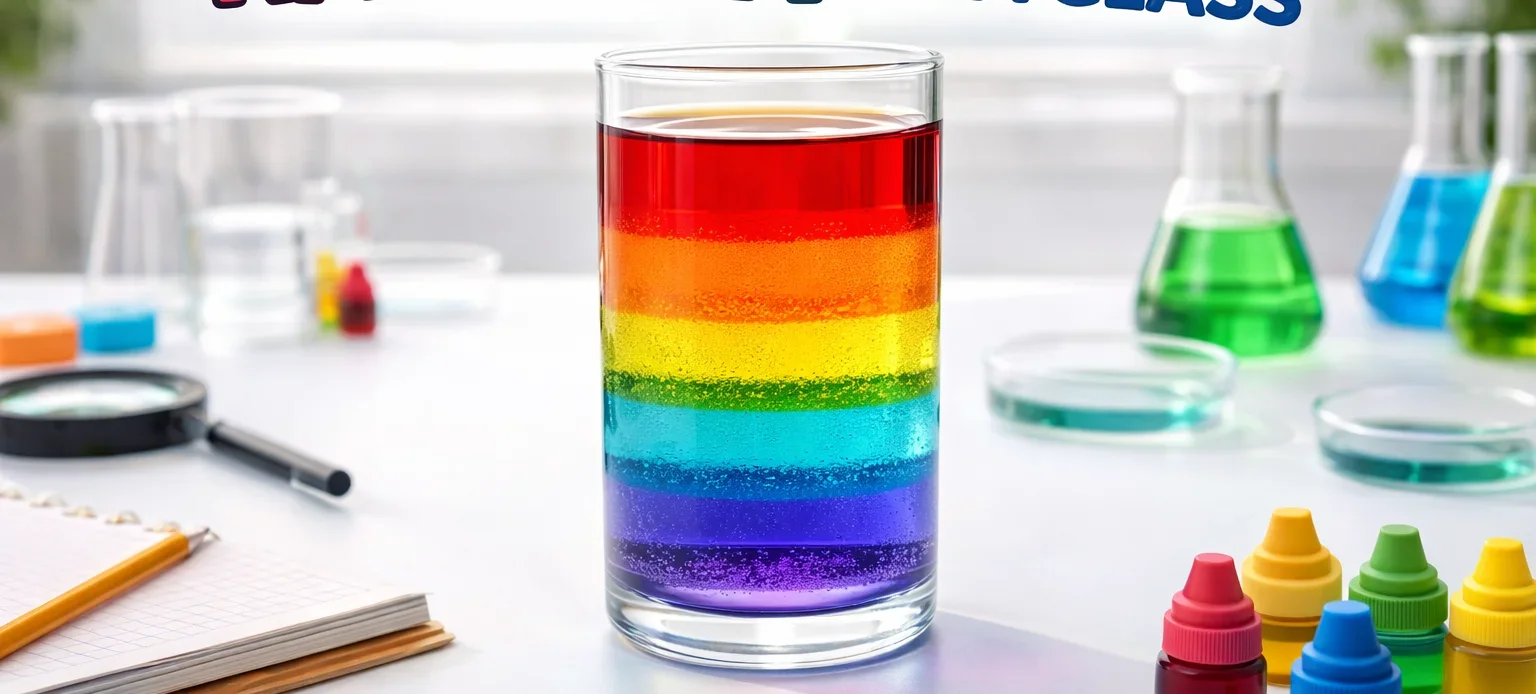
Creating a liquid density tower is a captivating science experiment that transforms fundamental physics principles into mesmerizing visual art. This DIY project utilizes the natural density differences in household liquids to form distinct, colorful layers inside a clear container. Perfect for classrooms, homeschooling, or weekend family activities, a liquid density tower demonstrates properties of matter while developing STEM reasoning skills through hands-on learning. The experiment requires minimal preparation and materials, making complex concepts accessible even to younger audiences.
The Science Behind Density Layers
Density measures how much mass exists within a specific volume, determining whether substances float or sink when combined. Each liquid possesses unique molecular weight and cohesion properties – honey sinks beneath corn syrup because its molecules are packed tighter per milliliter. Temperature fluctuations impact density too; refrigerated liquids may layer differently than room-temperature ones. When carefully poured in descending density order, liquids resist mixing due to immiscibility and form striated bands visible through glass containers. This phenomenon illustrates archimedes’ principle while providing tactile understanding of fluid mechanics essential in oceanography and engineering studies.
Essential Materials For Your DIY Liquid Density Tower
You can build an impressive liquid density tower using common pantry items avoiding specialized equipment. Start with a tall transparent vessel like a graduated cylinder, test tube, or sturdy water bottle. Required liquids include honey, maple syrup, dish soap, water, vegetable oil, and rubbing alcohol – each offering distinct densities from approximately 1.42 g/ml to 0.79 g/ml. Food coloring enhances visibility with shades like blue for water and red for alcohols. A turkey baster or pipette ensures precision pouring, while paper towels handle inevitable spills during your scientific exploration.
Step-By-Step Construction Guide
Preparation Phase
Clear workspace surfaces and protect them with newspapers before gathering supplies. Measure approximately ½ cup of each selected liquid into separate labeled containers. Add vibrant food coloring: honey accepts golden tones well while rubbing alcohol pairs with bright neon shades. Avoid coloring non-polar liquids like oil since tint droplets typically remain suspended rather than dissolving evenly. Set your pouring vessel upright using modeling clay or a beaker holder preventing disastrous tipping during assembly.
Assembly Process
Slowly pour the densest liquid (usually honey or corn syrup) into your container using angled spoon guidance against sidewalls minimizing turbulence. Subsequently introduce dish soap using a turkey baster with its tip touching underlying layers allowing gentle overflow. Repeat technique repetitions progressing toward lighter substances: water followed lastly by oils then alcohol creates textbook stratification. Persistent patience sustains layering integrity; rushing disrupts molecular boundaries creating cloudy mixtures requiring restart attempts.
Safety Considerations For Liquid Density Experiment
While non-toxic substances dominate this household science project, some liquids demand precautions against hazards. Low-grade rubbing alcohol irritates eyes requiring goggles especially when handling near children. Adults should supervise heat applications if demonstrating temperature’s effect on densities using microwaved components. Food allergies necessitate alertness when utilizing maple syrup or honey derived from bee pollination environments. Contain spills promptly preventing slippery floors by deploying absorbent mats underneath experiment stations during active construction phases.
Creative Variations And Advanced Concepts
Elevate complexity by introducing additional liquids such as milk, pancake syrup, or antifreeze solutions triggering hybrid stratification effects ideal for high-school laboratories. Manipulate temperatures scientifically testing hypotheses about viscosity changes through liquid freezing comparative trials. Incorporate solid items like metal screws, plastic beads and popcorn kernels observing terminal velocity impacts across density layers. Document volumetric displacements mathematically calculating individual densities verifying textbook values against empirical evidence collections improving measurement literacy comprehensively.
Educational Benefits Across Age Groups
This concrete visualization bridges abstract science theories engaging preschoolers visually while challenging adolescents quantitatively. Younger participants learn color sequencing and fine motor control through droplet delivery coordination activities. Middle-schoolers record precise measurements graphing density gradients reinforcing mathematical proportionality concepts. Advanced learners calculate buoyant forces acting upon immersed solids experimenting with structural density versus liquid thresholds dynamically. Each tier transforms household chemistry into memorable investigative journeys anchored by unforgettable rainbow towers sparkling on classroom shelves.
Conclusion: Construct Your Liquid Density Masterpiece
Mastering the DIY liquid density tower unveils thermodynamics through aesthetically striking scientific artistry accessible anywhere utilizing minimal resources. This foundation sparks ongoing curiosity regarding fluid physics applications spanning weather systems to deep-sea exploration innovations. Whether demonstrating principles personally or guiding student investigations, your tower journey demystifies matter interactions profoundly. Secure containers, select household variants with divergent densities, then commence methodical liquid additions witnessing physics laws manifesting vividly.
Frequently Asked Questions
Q1. Can I reuse my liquid density tower?
Yes, you can temporarily preserve completed towers by sealing containers strictly preventing evaporation disturbances. However, slow molecular diffusion eventually blurs layer divisions requiring renewal after approximately twenty-four hours. Refrigeration minimally extends longevity but freezing destroys structural stability as components expand differently chilling fracturing stratification formations.
Q2. Why do my layers mix despite careful pouring?
Mixing primarily results from pouring too rapidly creating turbulence around liquid interfaces. Ensure each addition moves slowly down container sides coating predecessors gently forming incremental films distinctively. Temperature variances among liquids enhance diffusion rates exacerbating integrations particularly cooling denser fluids unevenly accelerating blending motions disrupting precise molecular boundaries.
Q3. Which liquids create optimal layers?
Ideal candidates display substantial density differences exceeding ten percent ensuring separation endurance resisting mixing tendencies. Honey’s high viscosity pairs excellently against rubbing alcohol’s fluidity enabling definitive partitions. Milk adds stylistic opacity distinctions whereas corn syrup bridges density gaps obscure relative magnitudes perfectly preserving layer definitions visibly over experimental durations.
Q4. Is this experiment safe for preschoolers?
Absolutely with appropriate supervision preventing ingestion attempts. Substitute potentially hazardous rubbing alcohols using colored sugar water mixtures achieving comparable lower densities safely. Provide plastic pipettes assisting pouring precision developmentally alongside simple color labeling comprehensions constructing foundational science exposure delightfully.
Q5. How accurately can I measure densities?
Using graduated cylinders improves volumetric precision essential calculation outputs. Combining displacement weights gauged via kitchen scales computes densities mathematically as mass divided volumes yielding benchmark comparisons investigating material purity scientifically. Thermostatic baths elevate specialist methodologies demonstrating stable temperatures ensuring controlled laboratory-grade consistency verifying authentic physics principles conclusively.

100+ Science Experiments for Kids
Activities to Learn Physics, Chemistry and Biology at Home
Buy now on Amazon
Advanced AI for Kids
Learn Artificial Intelligence, Machine Learning, Robotics, and Future Technology in a Simple Way...Explore Science with Fun Activities.
Buy Now on Amazon
Easy Math for Kids
Fun and Simple Ways to Learn Numbers, Addition, Subtraction, Multiplication and Division for Ages 6-10 years.
Buy Now on Amazon